
树莓派4B opencv循迹小车开发日志

树莓派4B opencv循迹小车开发日志
米粒树莓派烧录系统
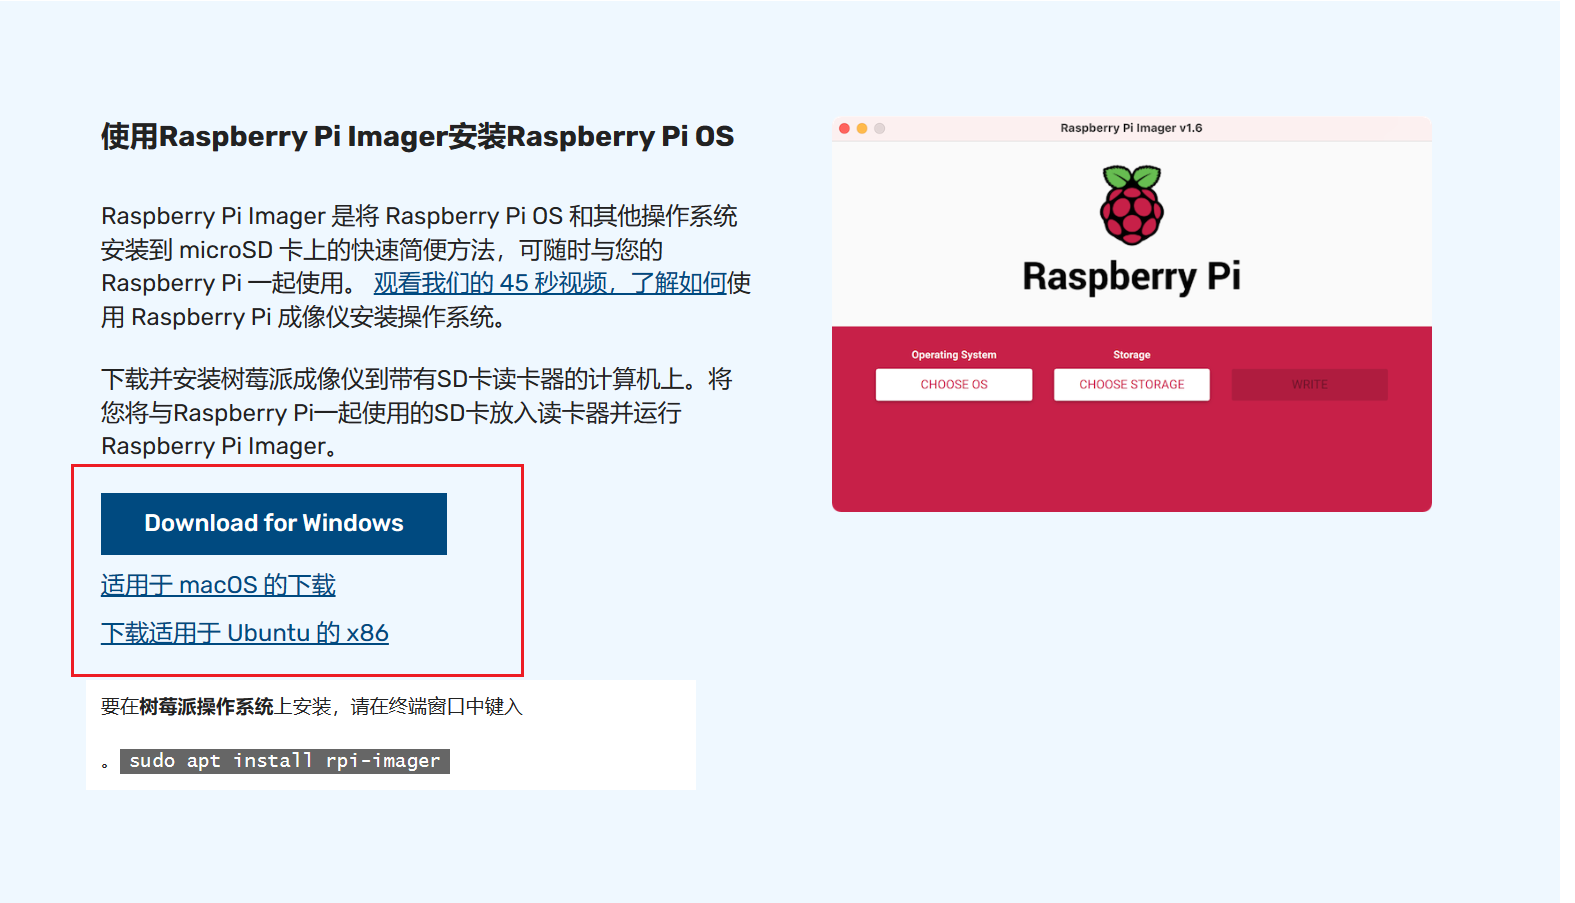
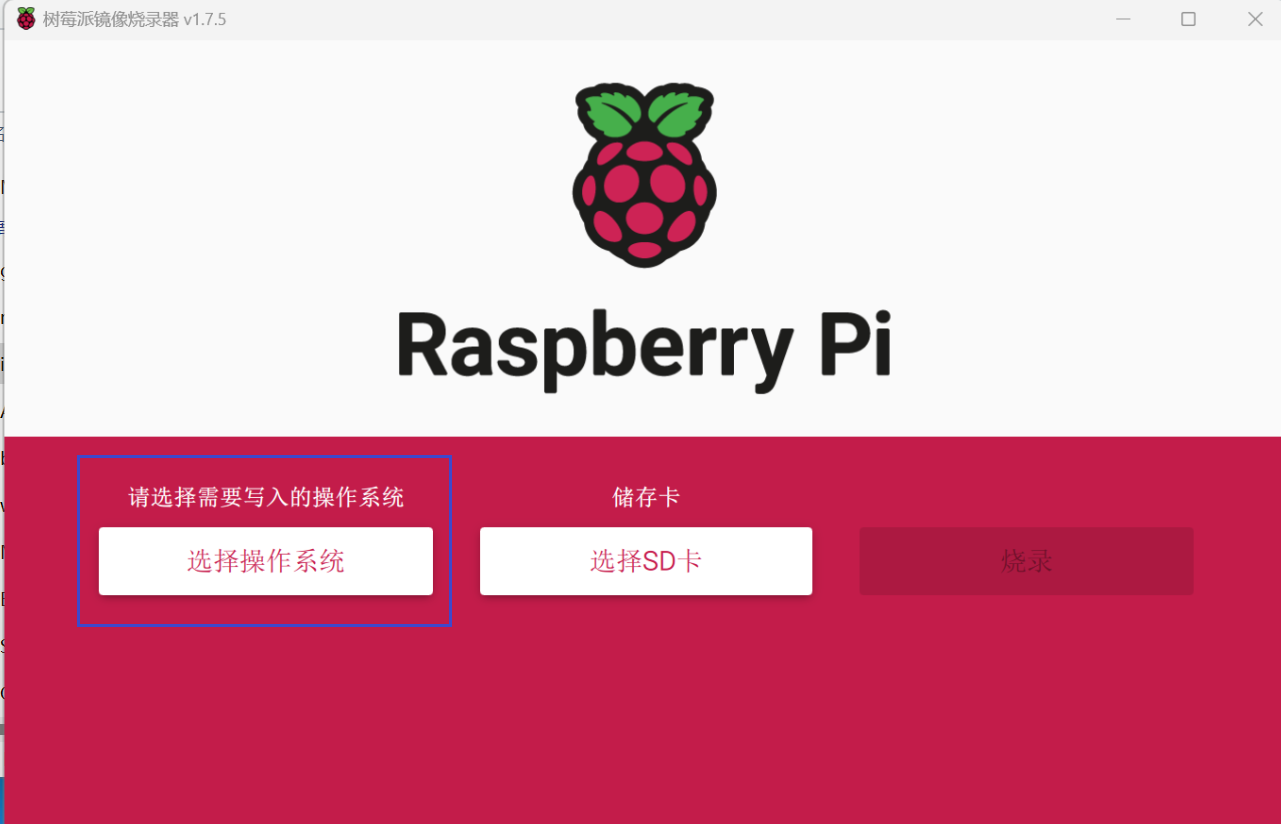
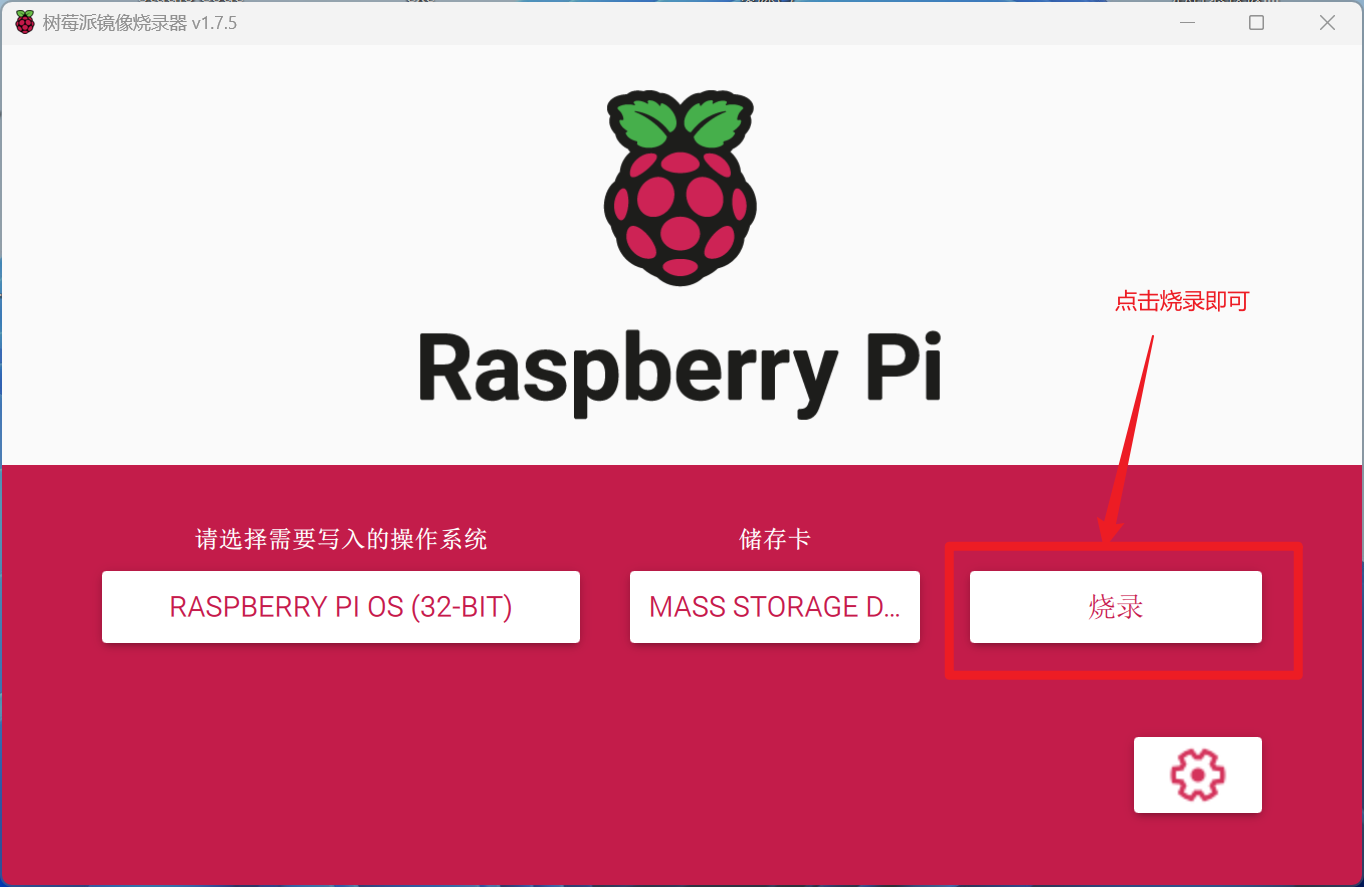
下载官方烧录软件,Raspberry Pi Imager,选择自己合适的系统。

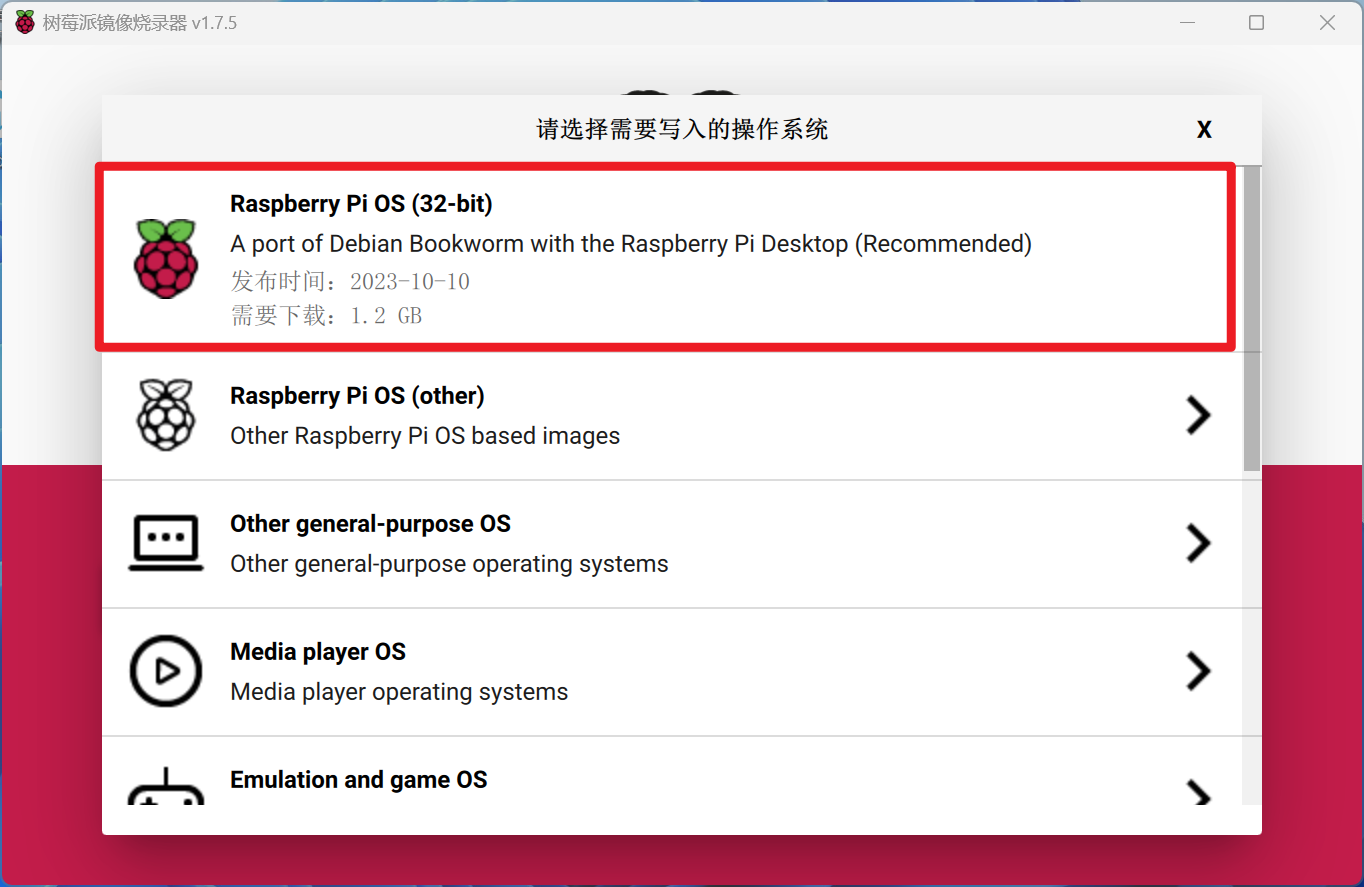
选择要烧录的系统,推荐选择第一个系统,这个系统可以适配树莓派的所有型号
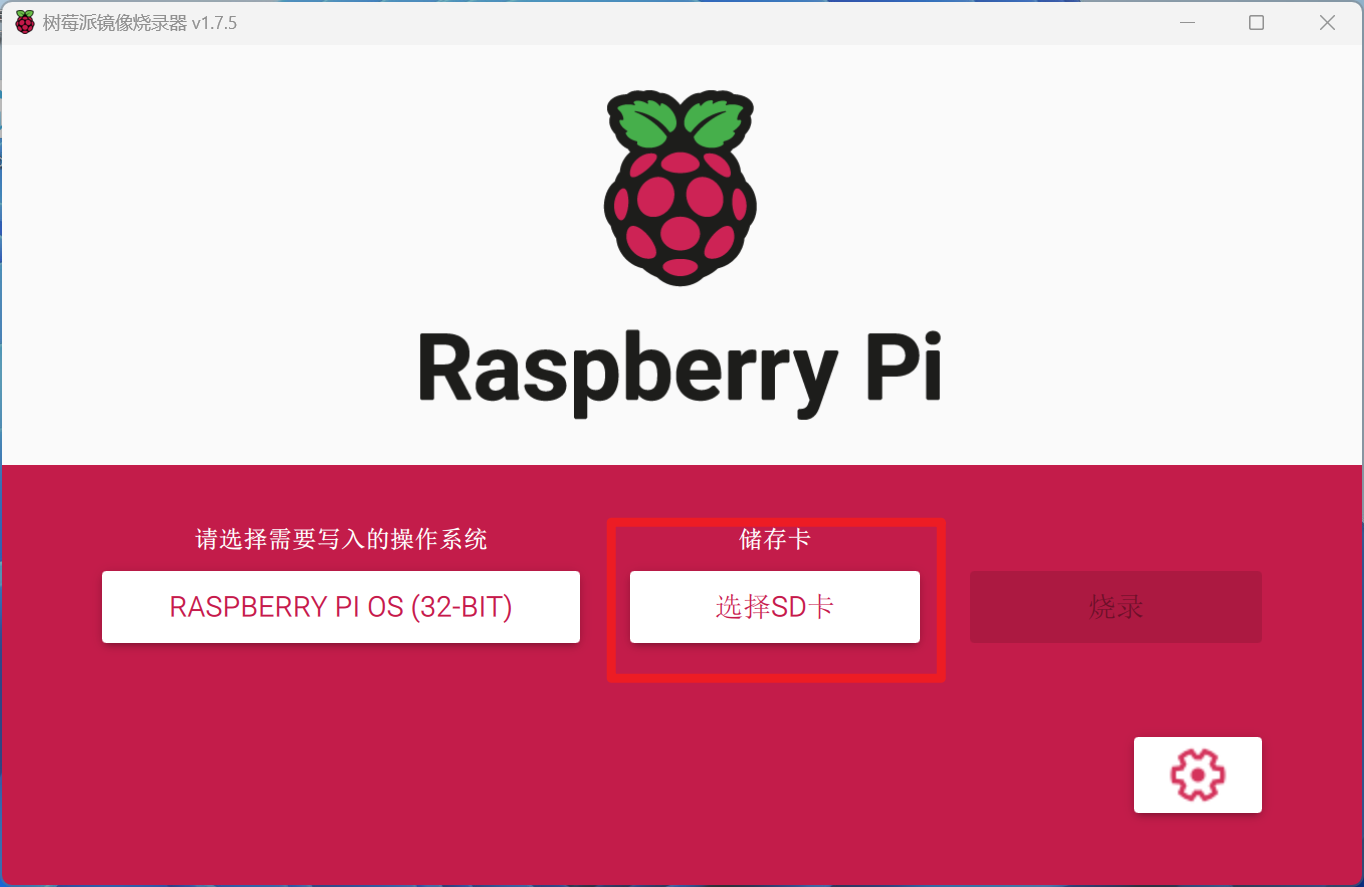
选择烧录的 SD 卡
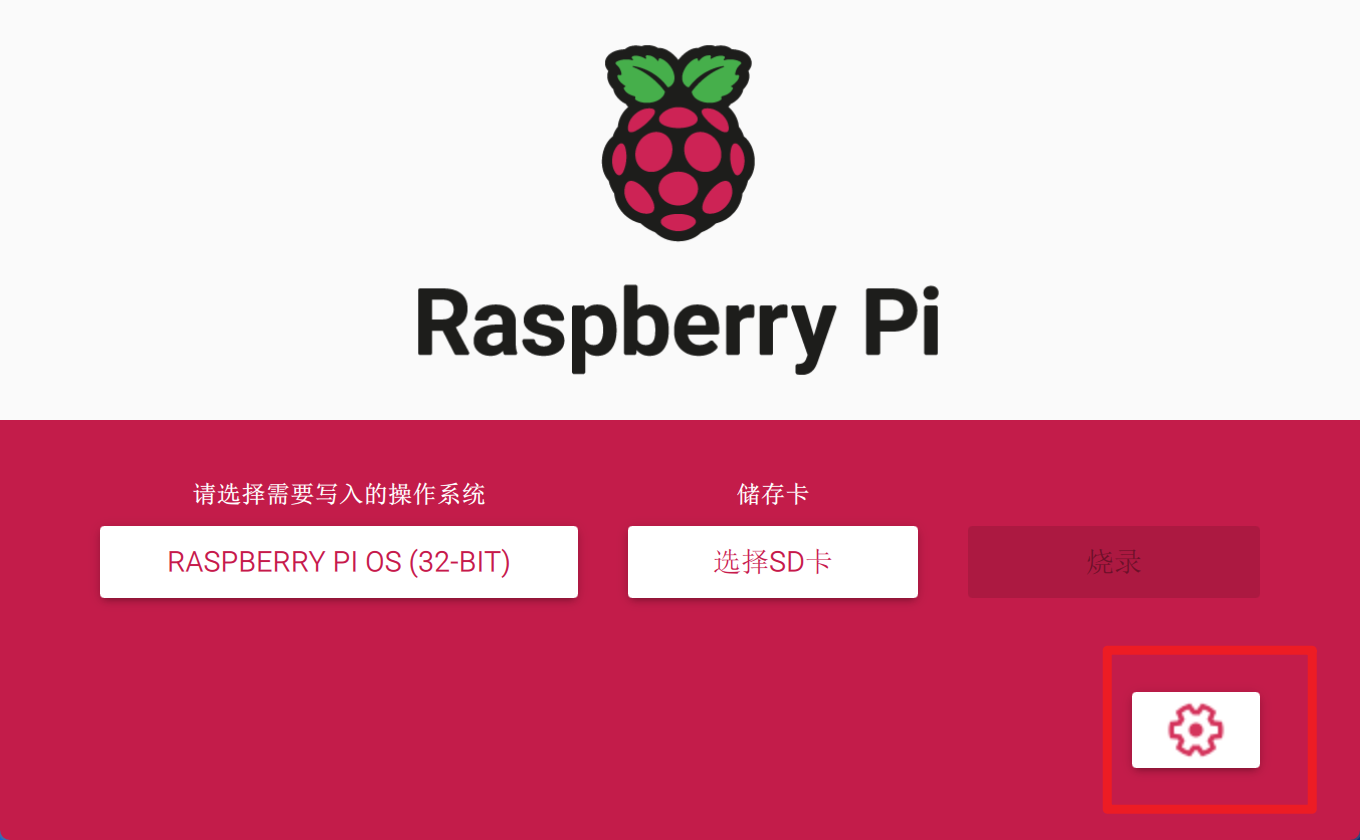
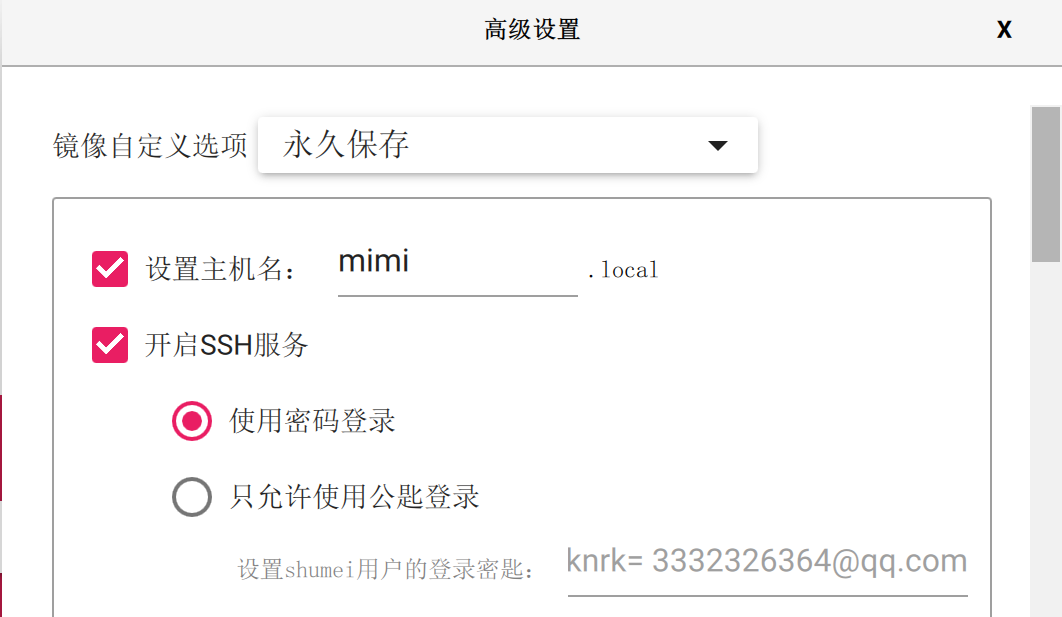
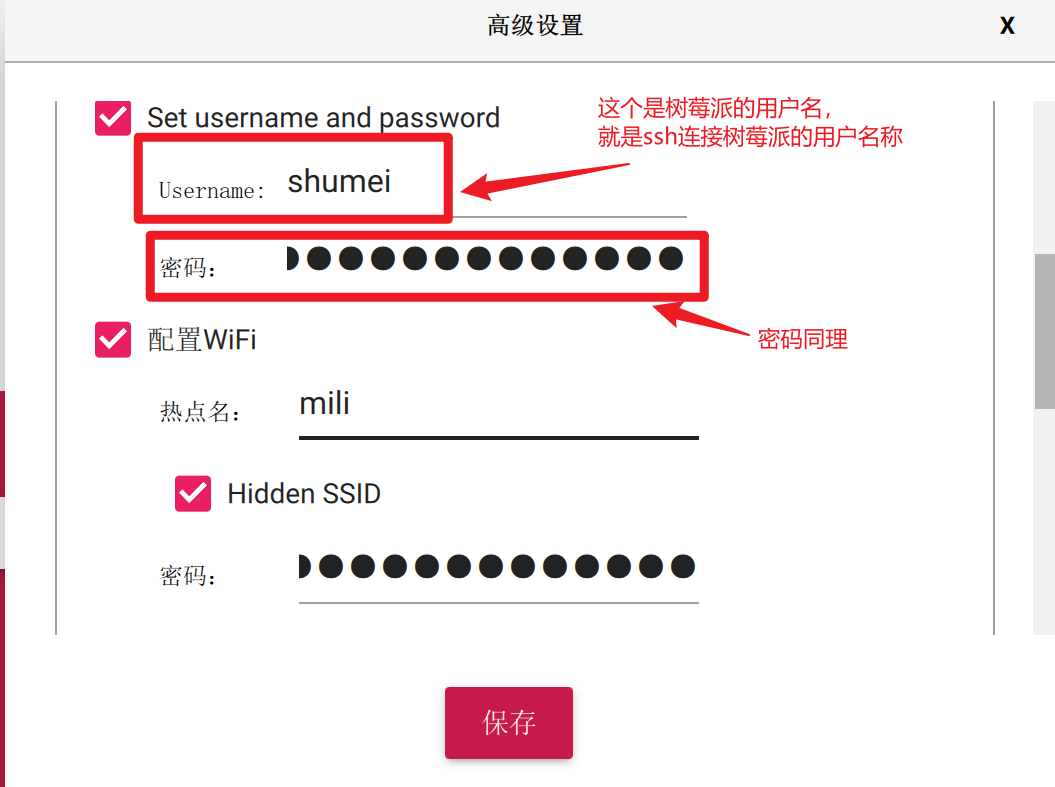
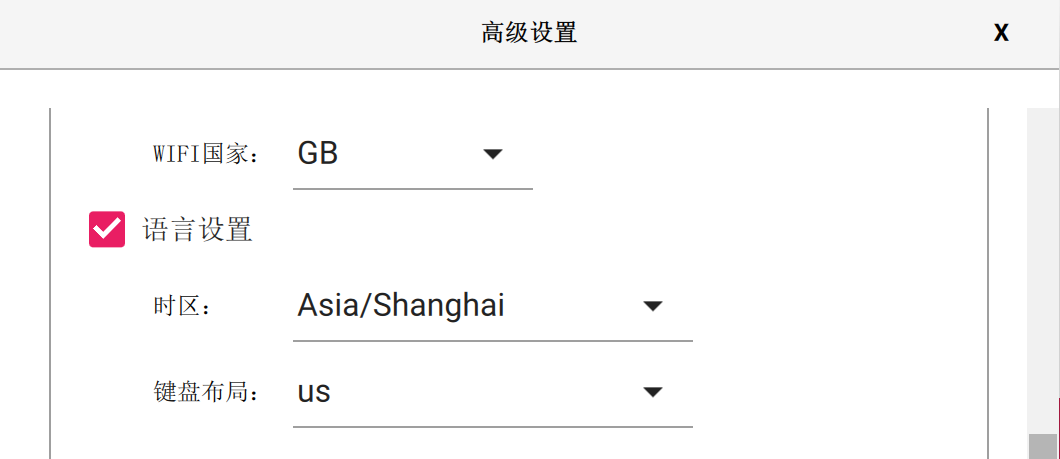
点击设置配置好必要的设置
可以参考我的配置
点击烧录,注意:烧录如果长时间都是 0%,可能需要魔法下载系统镜像文件,关于魔法我不多赘述了,想必玩这个的应该都有吧,没有就再说。
ssh 连接树莓派
下载并安装 ssh 连接工具FinalShell
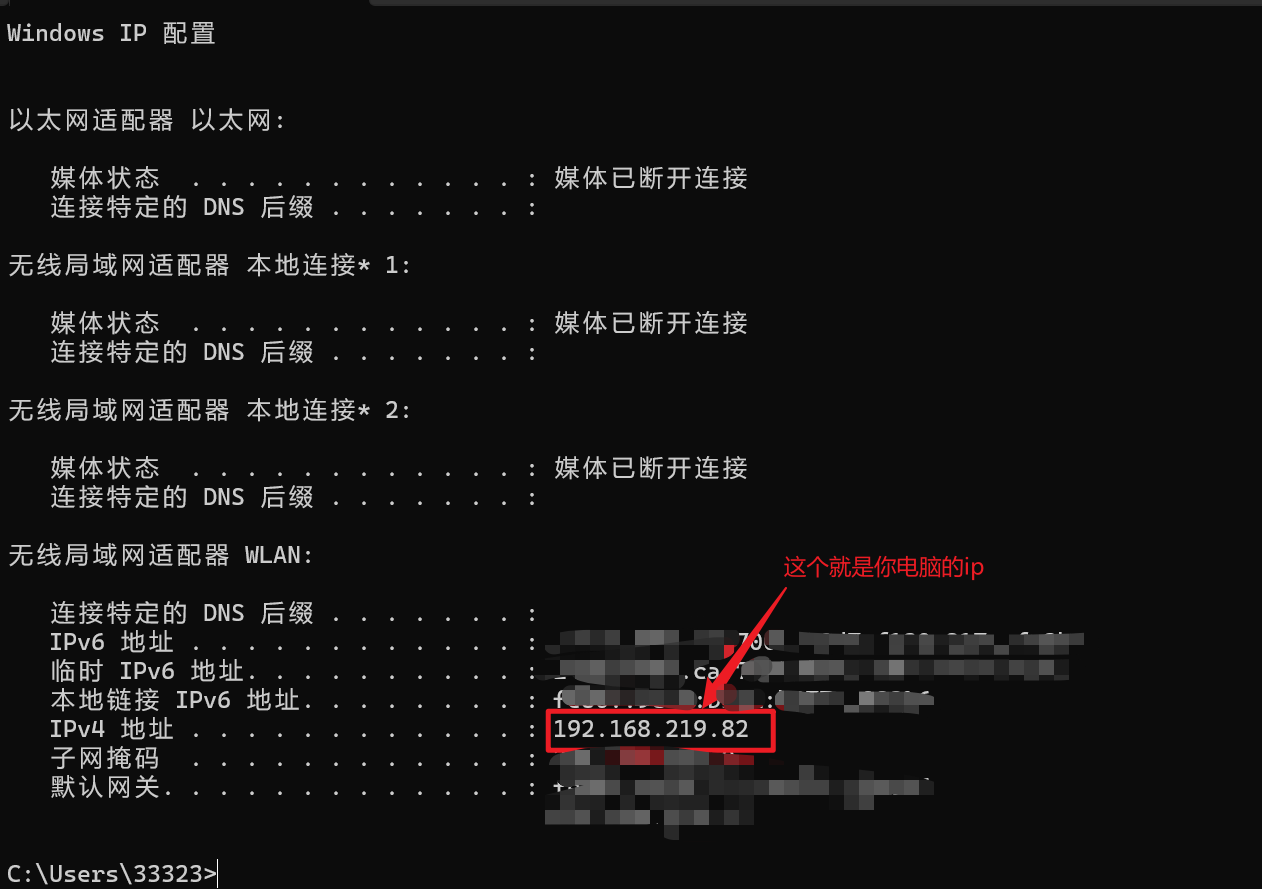
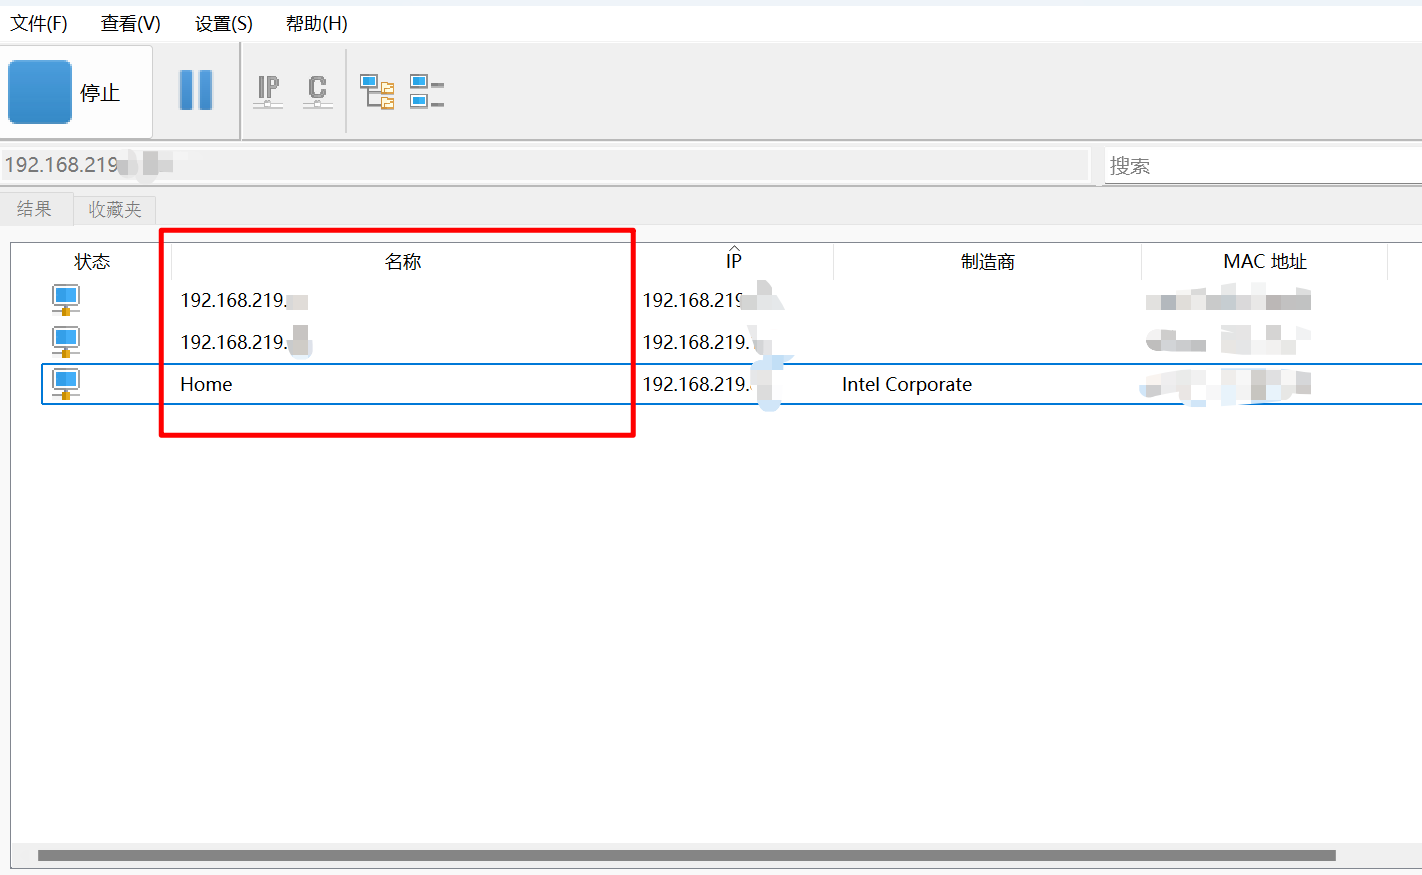
获取树莓派本地 IP,下载并安装 IP 扫描工具Advanced IP Scanner (是手机热点的可以忽略这一步,ip 可以直接在热点的连接设备中查看。)
- 先查看你电脑的本地 IP ,win+R 输入 cmd
1
ipconfig
- 将192.168.219.xx粘贴到 Advanced IP Scanner 中进行查询,如果你是第一次登录,显示的名称可能是 IP,需要你每个都尝试一下。如果是你前面设置的主机名称,直接右键复制 IP 就可以了
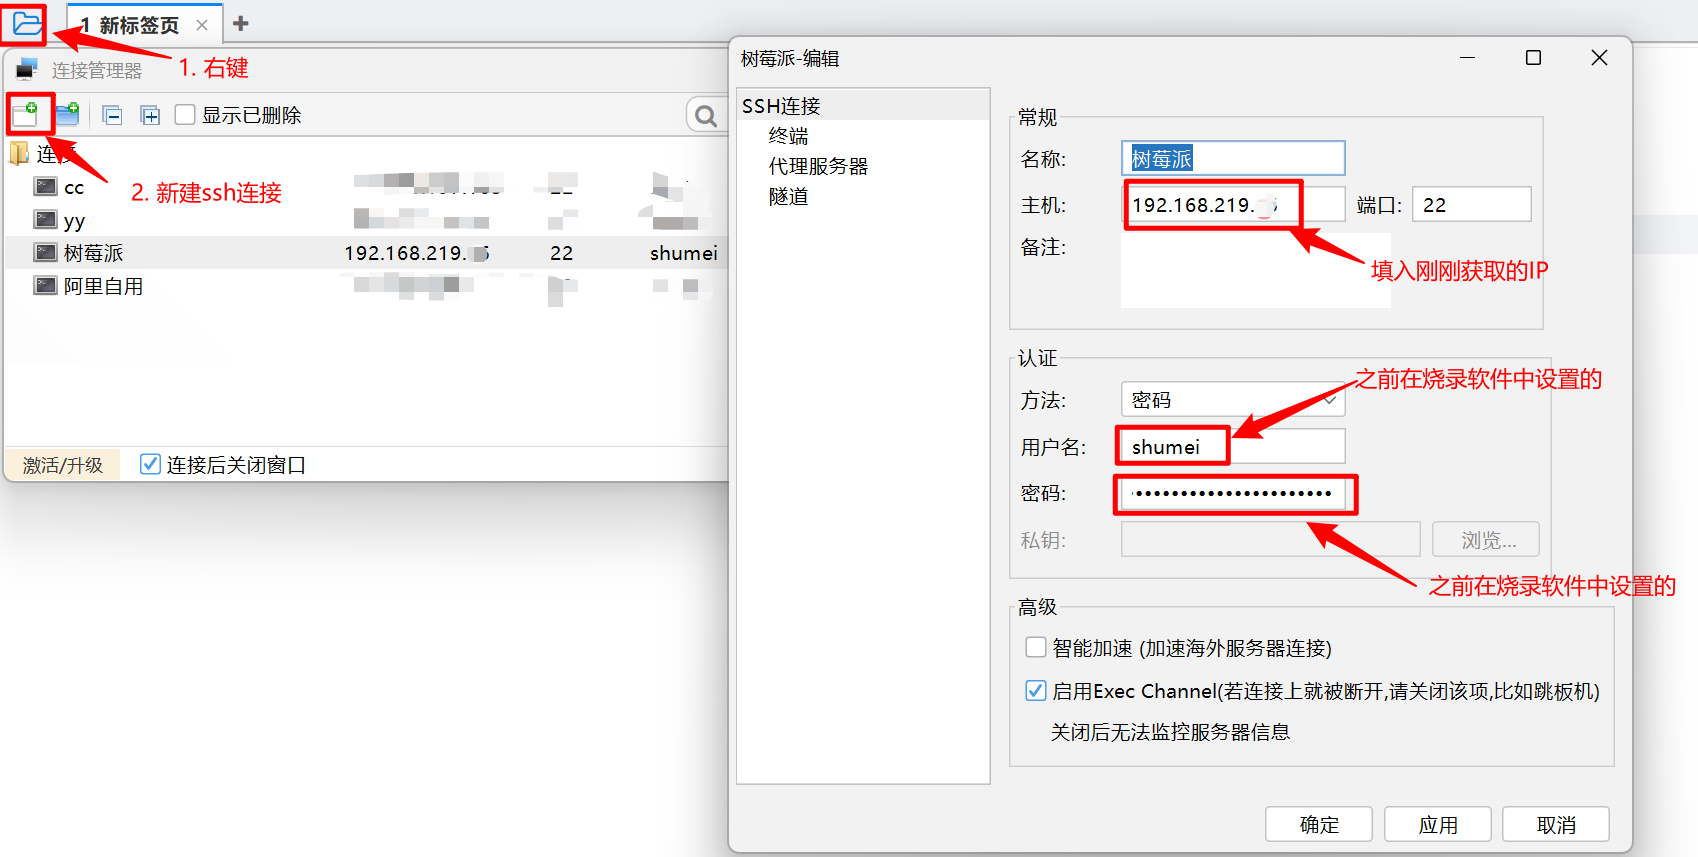
连接树莓派
开机自动获取树莓派 IP
安装
vim。关于用法请自行百度。1
2sudo apt update
sudo apt install vim切换到
root用户,创建一个新的systemd服务文件1
2sudo su
sudo vim /etc/systemd/system/wuxian.service输入以下内容如:
1
2
3
4
5
6
7
8
9
10
11
12[Unit]
Description=Wuxian Service
After=network.target
[Service]
ExecStart=/usr/bin/python3 /home/shumei/Downloads/wuxian.py
User=pi #这个是启动程序的用户,一般填root
WorkingDirectory=/home/shumei/Downloads
[Install]
WantedBy=multi-user.target创建
wuxian.py文件,1
sudo vim /home/shumei/Downloads/wuxian.py
写入以下内容:
1
2
3
4
5
6
7
8
9
10
11
12
13
14
15
16
17
18
19
20
21
22
23
24
25
26
27
28
29
30
31
32
33
34
35
36
37
38
39
40
41
42
43
44# 有线网络的IP地址获取将Python脚本里面的wlan0改成eth0就行
import smtplib
from email.mime.text import MIMEText
from email.mime.multipart import MIMEMultipart
from email.header import Header
import subprocess
import time
import traceback
#延时15秒,使系统准备完毕(连上网络)
time.sleep(15)
#获取指定网卡 wlan0 的ip地址
cont = subprocess.getoutput("ifconfig wlan0 | grep inet | grep -o -E \([0-9]+\.\){3}[0-9]+ | head -n 1")
localtime = time.asctime(time.localtime(time.time()))
#将时间和IP地址写入日志文件中
log = cont+" "+localtime
with open("launlog.txt","a") as f:
f.write("\n")
f.write(log)
# 发送邮件服务器
smtpserver = 'smtp.qq.com'
#代发邮件的邮箱和用于登录的认证码(在QQ邮箱的设置中获取)
sender = "xxxxx@qq.com"
aucode = 'xxxxxxxx'
#接收邮件的IP地址
receiver = "yyyyy@qq.com"
message = MIMEMultipart('related')
message['From'] = sender
message['To'] = Header('树莓派', 'utf-8')
subject = '树莓派'
message['Subject'] = Header(subject, 'utf-8')
ipContent = "无线网络IP:"+cont
content = MIMEText(ipContent, 'plain', 'utf-8')
message.attach(content)
try:
smtp = smtplib.SMTP_SSL(smtpserver, 465)
smtp.ehlo()
smtp.login(sender,aucode)
smtp.sendmail(sender, receiver, message.as_string())
smtp.quit()
except smtplib.SMTPException:
#将异常信息写入日志文件中
with open("launlog.txt","a") as f:
f.write('\n')
f.write(traceback.format_exc())启动服务并使其在启动时运行:
1
2sudo systemctl start wuxian.service
sudo systemctl enable wuxian.service检查服务是否开启
1
sudo systemctl status wuxian.service
如果服务未启动,你可以使用以下命令手动启动它:
1
sudo systemctl start wuxian.service
配置 opencv 环境
安装 vim 编辑器
1
2sudo apt update
sudo apt install vim首先在树莓派操作系统的命令行中用 vim 命令编辑「/etc/apt/sources.list」文件:
输入
i编辑文件1
2sudo vim /etc/apt/sources.list
按下
esc,输入:wq保存并退出文件在每一行内容前都输入#号,将其注释掉。然后在末尾添加:
1
2deb http://mirrors.tuna.tsinghua.edu.cn/raspbian/raspbian/ bullseye main non-free contrib rpi
deb-src http://mirrors.tuna.tsinghua.edu.cn/raspbian/raspbian/ bullseye main non-free contrib rpi编辑「/etc/apt/sources.list.d/raspi.list」文件:
1
sudo vim /etc/apt/sources.list.d/raspi.list
注释掉原内容,然后添加以下内容:
1
deb http://mirrors.tuna.tsinghua.edu.cn/raspberrypi/ bullseye main
现在更新软件源列表,同时也可以检查我们的编辑是否正确:
1
sudo apt-get update
安装 openCV
1
sudo apt-get install python3-opencv
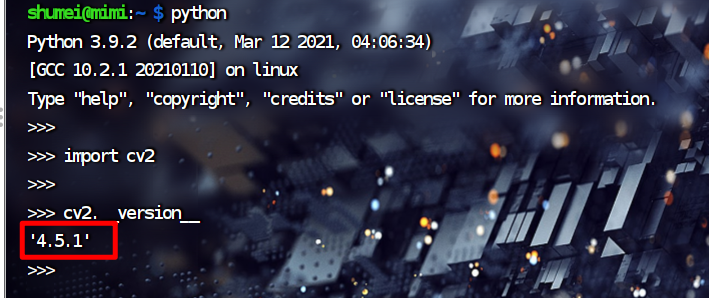
验证是否安装成功在命令行中输入以下代码
1
2
3
4
5python
import cv2
cv2.__version__出现版本号说明就安装成功了
设置开机自启摄像头
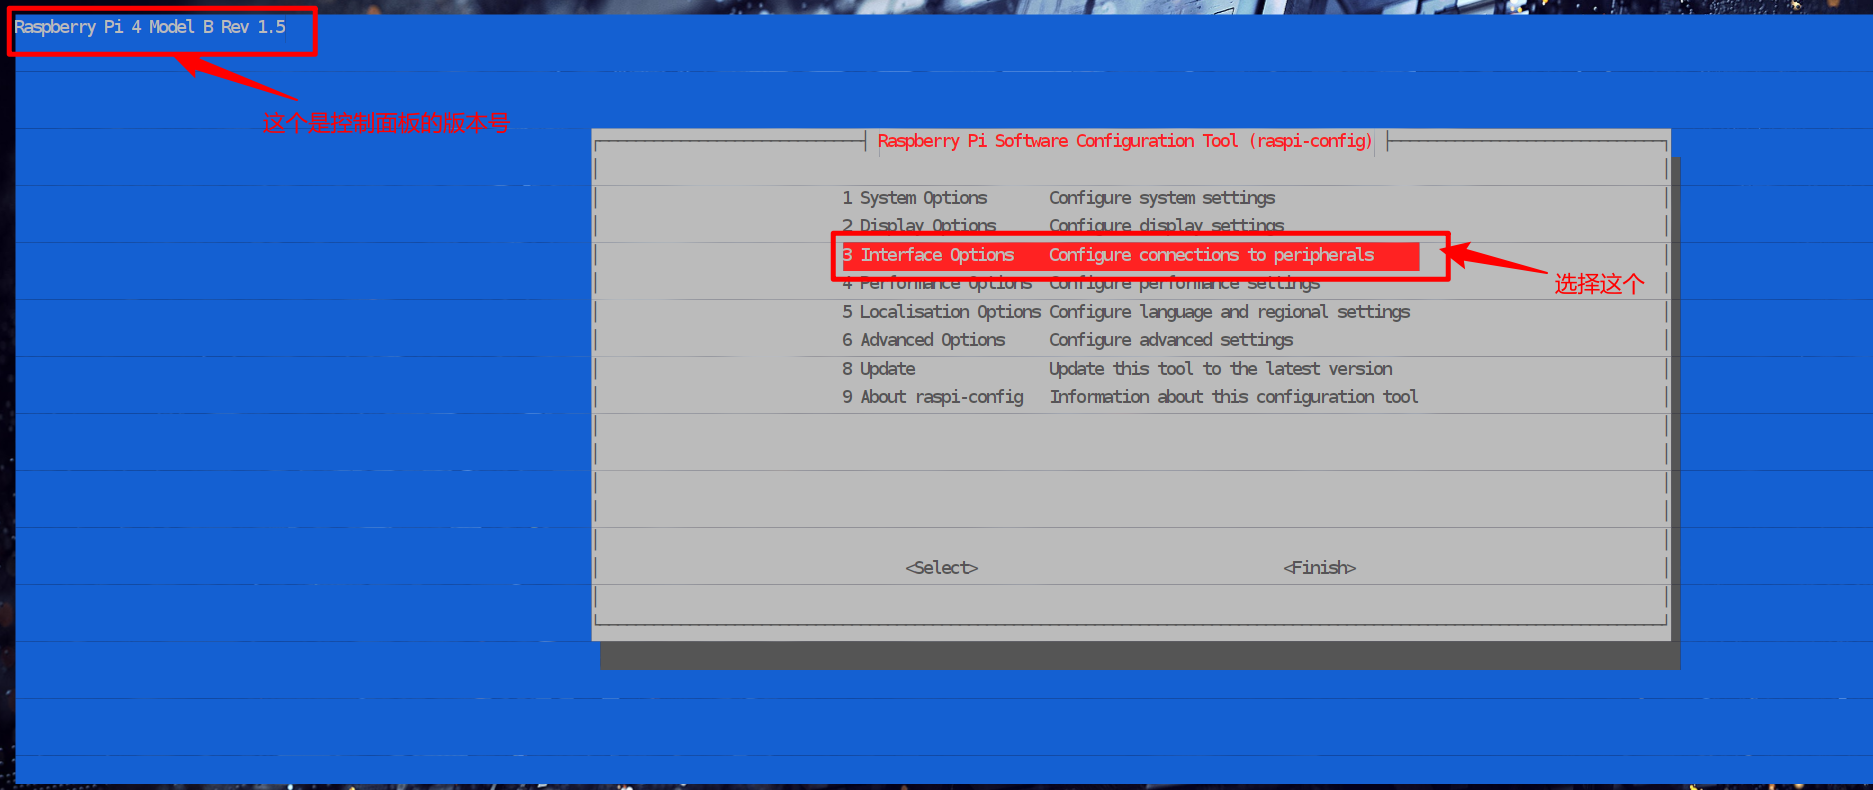
启用摄像头,打开树莓派的配置界面,注意面板的版本号,版本号不一样的可能有些许不一样 。使用键盘的上下键可以移动光标,回车是确定,键盘左右键是移动光标到下面的确定和退出,前提是鼠标的聚焦窗口是这个面板,如果不是需要点击一下。
1
2sudo raspi-config
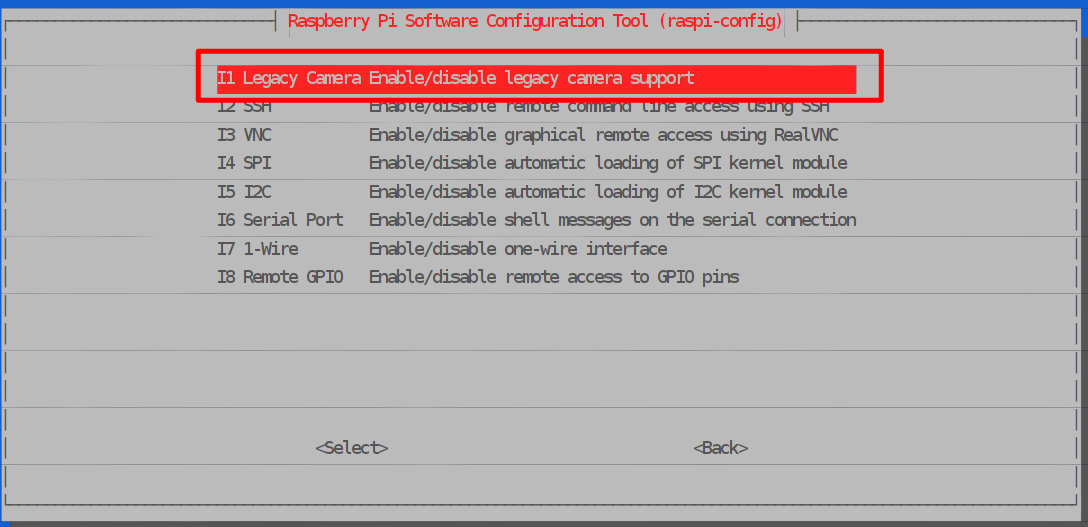
- 假设面板版本号不一样,这个摄像头的设置名称是不会变的,回到主菜单多看几个。
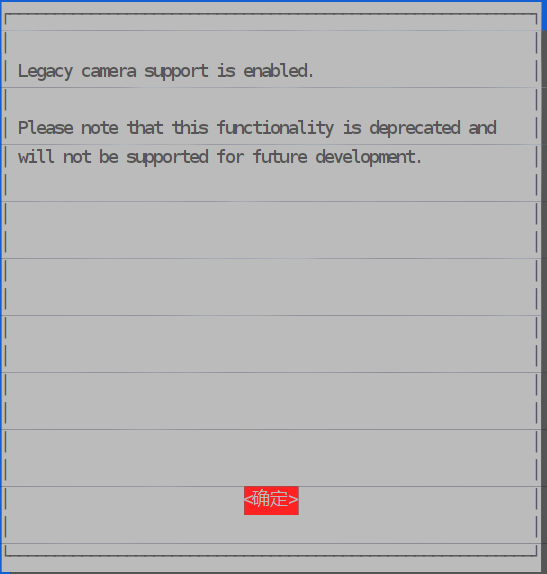
- 选择确定开启
直接在/home/xxx 目录下创建:(xxx 替换成您的用户名)
1
sudo vim camera.py
输入以下代码,输入
i编辑文件1
2
3
4
5
6
7from picamera import PiCamera
from time import sleep
camera = PiCamera()
camera.start_preview()
sleep(10)
camera.stop_preview()按下
esc,输入:wq保存并退出文件给刚刚创建的脚本添加权限
1
chmod 777 /home/xxx/camera.py
将文件设置为自启:
- 首先打开 rc.local 文件
1
sudo vim /etc/rc.local
- 然后在 exit 0 上面输入:输入
i编辑文件
1
python /home/xxx/camera.py
按下
esc,输入:wq保存并退出文件

安装 motion 实现视频在局域网中传输
- 安装 motion
1 | sudo apt-get update |
修改配置文件
1
sudo vim /etc/motion/motion.conf
motion.conf 相关配置
1
2
3
4
5
6
7
8
9
10
11
12
13
14
15
16
17
18
19
20
21
22
23
24
25
26
27
28
29
30
31
32
33
34
35
36
37
38
39
40
41
42
43
44
45
46
47
48
49
50
51
52
53
54
55
56
57
58
59
60
61
62
63
64
65
66
67
68
69
70
71
72
73
74
75
76
77
78
79
80
81
82
83
84
85
86
87
88
89
90
91
92
93
94
95
96
97
98
99
100
101
102
103
104
105
106
107
108
109
110
111
112
113
114
115
116
117
118
119
120
121
122
123
124
125
126
127
128
129
130
131
132
133
134
135
136
137
138
139
140
141
142
143
144
145
146
147
148
149
150
151
152
153
154
155
156
157
158
159
160
161
162
163
164
165
166
167
168
169
170
171# Rename this distribution example file to motion.conf
#
# This config file was generated by motion 4.3.2
# Documentation: /usr/share/doc/motion/motion_guide.html
#
# This file contains only the basic configuration options to get a
# system working. There are many more options available. Please
# consult the documentation for the complete list of all options.
#
############################################################
# System control configuration parameters
############################################################
# Start in daemon (background) mode and release terminal.
daemon off
# Start in Setup-Mode, daemon disabled.
setup_mode off
# File to store the process ID.
; pid_file value
# File to write logs messages into. If not defined stderr and syslog is used.
log_file /var/log/motion/motion.log
# Level of log messages [1..9] (EMG, ALR, CRT, ERR, WRN, NTC, INF, DBG, ALL).
log_level 6
# Target directory for pictures, snapshots and movies
target_dir /var/lib/motion
# Video device (e.g. /dev/video0) to be used for capturing.
videodevice /dev/video0
# Parameters to control video device. See motion_guide.html
; vid_control_params value
# The full URL of the network camera stream.
; netcam_url value
# Name of mmal camera (e.g. vc.ril.camera for pi camera).
; mmalcam_name value
# Camera control parameters (see raspivid/raspistill tool documentation)
; mmalcam_control_params value
############################################################
# Image Processing configuration parameters
############################################################
# Image width in pixels.
width 640
# Image height in pixels.
height 480
# Maximum number of frames to be captured per second.
framerate 60
# Text to be overlayed in the lower left corner of images
text_left CAMERA1
# Text to be overlayed in the lower right corner of images.
text_right %Y-%m-%d\n%T-%q
############################################################
# Motion detection configuration parameters
############################################################
# Always save pictures and movies even if there was no motion.
emulate_motion off
# Threshold for number of changed pixels that triggers motion.
threshold 1500
# Noise threshold for the motion detection.
; noise_level 32
# Despeckle the image using (E/e)rode or (D/d)ilate or (l)abel.
despeckle_filter EedDl
# Number of images that must contain motion to trigger an event.
minimum_motion_frames 100
# Gap in seconds of no motion detected that triggers the end of an event.
event_gap 60
# The number of pre-captured (buffered) pictures from before motion.
pre_capture 3
# Number of frames to capture after motion is no longer detected.
post_capture 0
############################################################
# Script execution configuration parameters
############################################################
# Command to be executed when an event starts.
; on_event_start value
# Command to be executed when an event ends.
; on_event_end value
# Command to be executed when a movie file is closed.
; on_movie_end value
############################################################
# Picture output configuration parameters
############################################################
# Output pictures when motion is detected
picture_output off
# File name(without extension) for pictures relative to target directory
picture_filename %Y%m%d%H%M%S-%q
############################################################
# Movie output configuration parameters
############################################################
# Create movies of motion events.
movie_output on
# Maximum length of movie in seconds.
movie_max_time 60
stream_maxrate 60
# The encoding quality of the movie. (0=use bitrate. 1=worst quality, 100=best)
movie_quality 45
# Container/Codec to used for the movie. See motion_guide.html
movie_codec mkv
# File name(without extension) for movies relative to target directory
movie_filename %t-%v-%Y%m%d%H%M%S
############################################################
# Webcontrol configuration parameters
############################################################
# Port number used for the webcontrol.
webcontrol_port 8080
# Restrict webcontrol connections to the localhost.
webcontrol_localhost off
# Type of configuration options to allow via the webcontrol.
webcontrol_parms 0
############################################################
# Live stream configuration parameters
############################################################
# The port number for the live stream.
stream_port 8081
# Restrict stream connections to the localhost.
stream_localhost off
##############################################################
# Camera config files - One for each camera.
##############################################################
; camera /usr/etc/motion/camera1.conf
; camera /usr/etc/motion/camera2.conf
; camera /usr/etc/motion/camera3.conf
; camera /usr/etc/motion/camera4.conf
##############################################################
# Directory to read '.conf' files for cameras.
##############################################################
; camera_dir /usr/etc/motion/conf.d开机自启配置,在 exit 0 前添加 motion , 保存,就会开机自动运行了。
1
sudo vim /etc/rc.local

.webp)


